INDT 501 Mini Projects
QR Code
As I try to become more aware of my digital age learners in the classroom, means to connect with them have led to the use of certain technologies like the QR reader. Initially I was skeptical about the QR reader and how I could use it in the classroom but thanks to Bridget McCrea (2011) and her examples; I have found that QR’s can actually be rather easy and even fun. As I was reading her examples I started to think about how I could use them in my classroom. The idea that stood out the most was the scavenger hunt using QR codes (McCrea, 2011). This seems like a good idea because it gets the students up and moving, lets them use their own technology that they are found of, all while helping them learn more about the subject matter.
I think another way to make the QR reader even more successful would be to assign it as a project for the students. After they submit their projects and we as a class go over them I could use the best ideas as future lessons plans for my own teaching. I would let the class anonymously vote on which project they thought was the best too. This would also help to make the QR more relevant because I would be using the sample that the students selected themselves.
Overall I thought the QR reader was actually a nice project and pretty simple to do. I generated my QR from QRStuff.com and want to make sure I credit them with their help. I can definitely see myself using this in the classroom for future assignment or lessons.
References
McCrea, B. (2011). QR codes in the classroom. The Journal. Retrieved from: http://thejournal.com/articles/2011/08/31/qr-codes-in-the-classroom.aspx
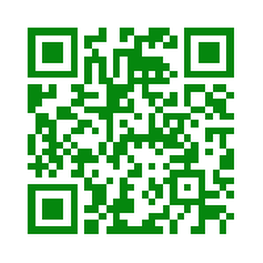
Click on the QR code above to see the example lesson plan!
I think another way to make the QR reader even more successful would be to assign it as a project for the students. After they submit their projects and we as a class go over them I could use the best ideas as future lessons plans for my own teaching. I would let the class anonymously vote on which project they thought was the best too. This would also help to make the QR more relevant because I would be using the sample that the students selected themselves.
Overall I thought the QR reader was actually a nice project and pretty simple to do. I generated my QR from QRStuff.com and want to make sure I credit them with their help. I can definitely see myself using this in the classroom for future assignment or lessons.
References
McCrea, B. (2011). QR codes in the classroom. The Journal. Retrieved from: http://thejournal.com/articles/2011/08/31/qr-codes-in-the-classroom.aspx
Click on the QR code above to see the example lesson plan!
Digital Citizenship Project
So for this week’s project we had to make a presentation on a selected topic and I choose “privacy and security”. Once again I went to old faithful – PowerPoint – to make the body of my presentation. I just think that it is the most customizable media I am familiar with that is also on each computer I have so it allows me to work on such projects either at home or on the road. I really have taken a liking to use BrainShark to edit and add audio clips to my presentations. BrainShark is simple, user friendly, and works.
As far as actually making the presentation it took a while to think of how I wanted to lay it out but once I thought of the basic flow I started to enjoy the creation process. I tried to add “auto animations” that are synced with my voice in the presentation to help liven up the watching experience for the viewer. When it comes to informing the view I tried to keep it simple and use references that my audience (9th and 10th graders) would be most familiar with. I think these presentations are great for keeping the viewer on track, but the actual informative part comes during the speaking portions.
I like these more open-ended projects because everyone in our class comes up with something slightly different and interesting. I enjoy seeing what other people make not only for the informative parts but to see how people do little tricks here and there to make their presentation more interesting. I think by making the project format more open-ended it makes the creator learn even more about their topic. They have to not only educate themselves on the topic but then decide what is worth passing on to their viewers. Ultimately this forces the creator to be even more informed resulting in hopefully an interesting presentation. Overall I enjoyed both making this presentation as well as see what other people built.
The VDEO Technology SOL covered in this project was standard C/T 9-12.15. The above link will guide you to all the standards assocated with the Technology SOL in the State of Virginia.

Thank you to Brainshark for helping me with the production of this video! Click on the Brainshark logo to visit their website and see how you can make your very own Brainshark video too!
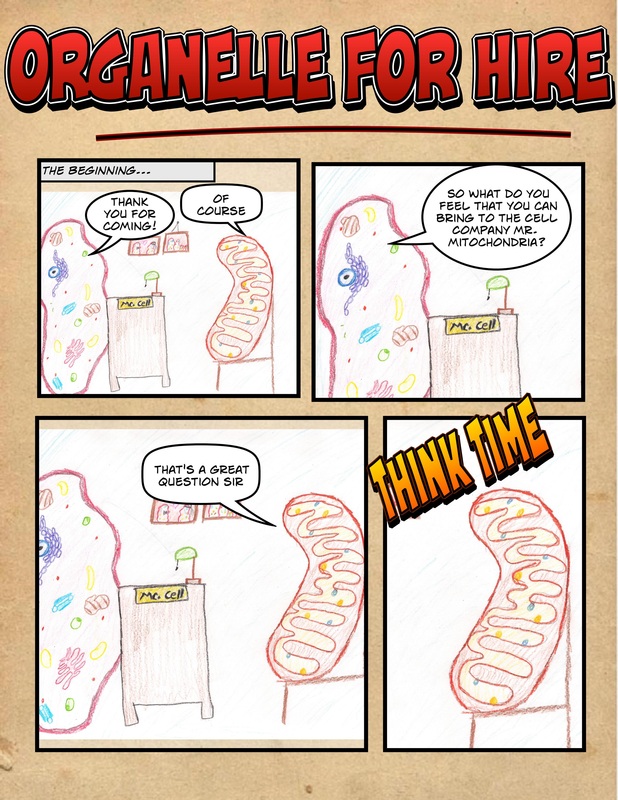
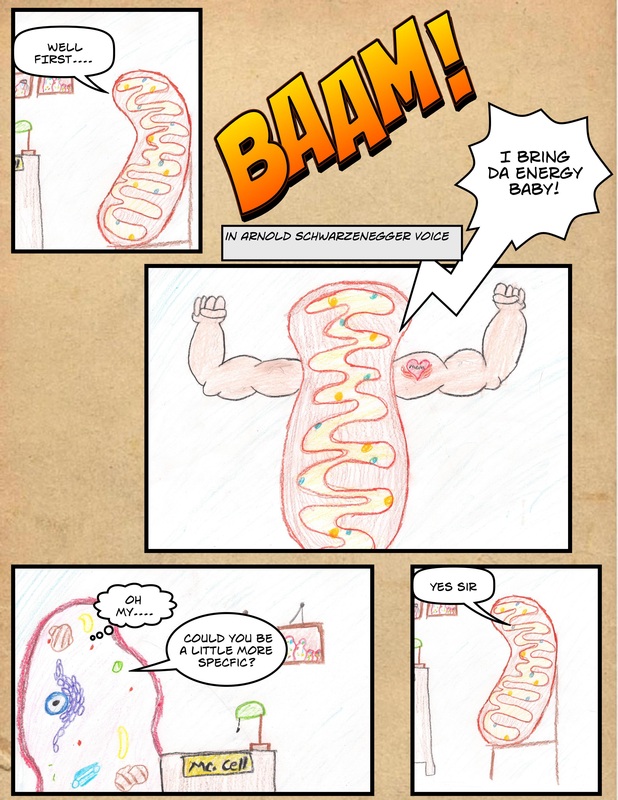
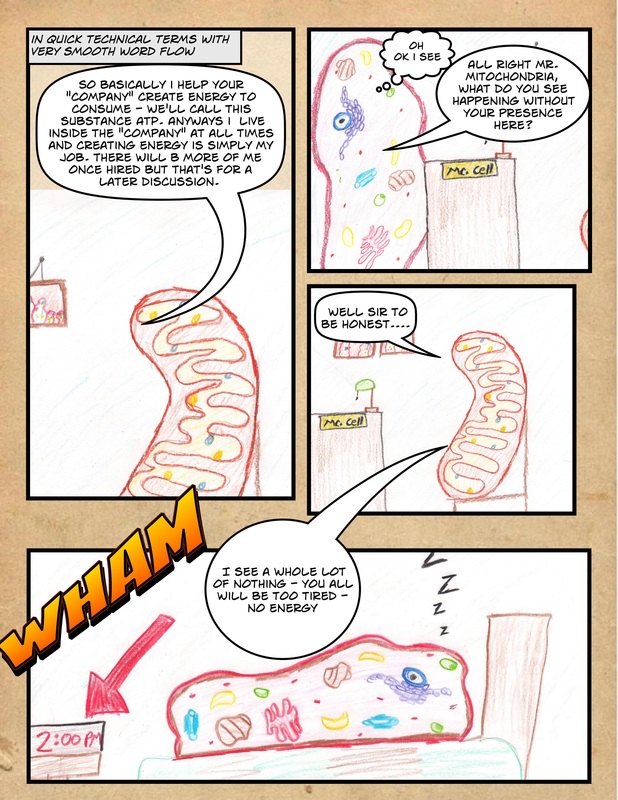
Student Comics!
|
|
|
|
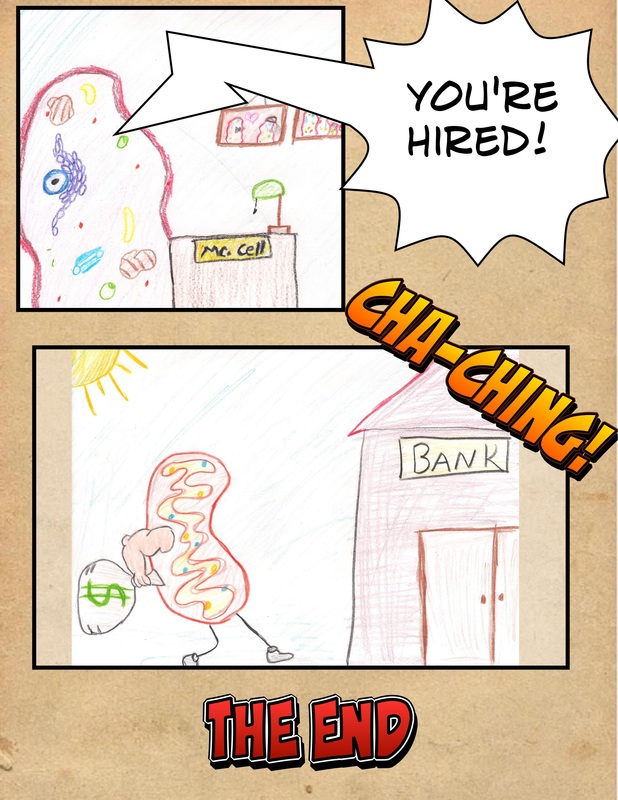
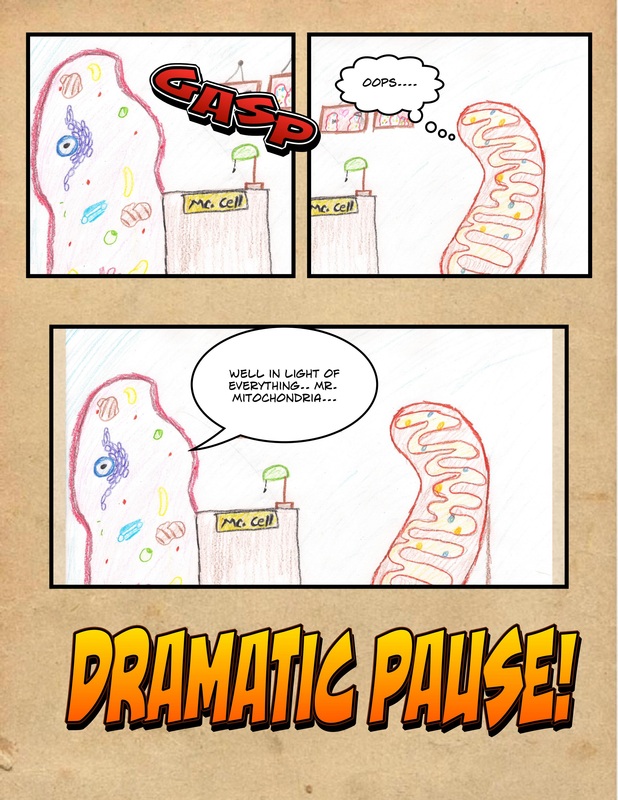
Just taking a few moments to reflect on this module’s activity, I was very surprised just how much effort it takes to make one example for a single lesson! Although I enjoyed making the comic example I will say did it take a LONG time! From creating the comic pages to actually drawing the scenes, altogether I’d say there is at least 15 hours for just this one lesson. I’m sure that if I were to ever make any comics in the future (which I plan to do) that it would go significantly faster next time. When it comes to learning how to use a new program there is always a pretty steep learning curve. It probably doesn’t help if you have outdated computers and rather slow internet as well – but this is hopefully going to change soon.
As far as sitting down and coming up with the comic idea I enjoyed this process a lot. I think high school students would enjoy doing this too and I could see hanging up multiple examples throughout the classroom once the project is completed. Someone gave me the idea of having the students vote on the comics as well, for example: most creative, funniest comic, best looking, and so on. I like this idea and will probably do it once I have my own classroom. Little bits of competition like this not only get the students more engaged but can really boost their confidence if they win. Never would have thought that I’d be making comics as a grad student but I’m glad I got the chance to! In fact I’m already thinking about how to make this another lesson plan.
As far as sitting down and coming up with the comic idea I enjoyed this process a lot. I think high school students would enjoy doing this too and I could see hanging up multiple examples throughout the classroom once the project is completed. Someone gave me the idea of having the students vote on the comics as well, for example: most creative, funniest comic, best looking, and so on. I like this idea and will probably do it once I have my own classroom. Little bits of competition like this not only get the students more engaged but can really boost their confidence if they win. Never would have thought that I’d be making comics as a grad student but I’m glad I got the chance to! In fact I’m already thinking about how to make this another lesson plan.
Collaborative Lab Reports
Collaborative work is becoming ever more present in both the educational field and work environment. By having students write collaboratively, they get see different writing styles, decrease the feeling of becoming overwhelmed by a first assignment, and practice peer reviewing. By using Google Docs, students can be connected regardless of distance. Google Docs also allows multiple people to edit the same document at any time of the day. This works great for any student athletes who may have to leave school earlier for a game or cannot work on assignments until after practice.
Personally, I feel that Google Docs ability to store all of an individual’s documents online – also allowing the access of such documents from anywhere with an internet connection – is a huge plus. No longer must students lug around bulk laptops or fear losing their precious flash drive containing all of their work. Now a student can simply visit the library, or anywhere that has a computer (or even from their phone!) and access their assignment.
As a teacher Google Docs also allows for extra time with students after school, without having to worry about travel issues. Something as simple as a “time signup sheet” can be passed around class prior to dismissal. This gives any student who may have questions an opportunity to meet with a teacher at a specific time and place (online). A teacher no longer has to set aside long office hours with the hopes that students will stop by. Overall I find Google Docs to be a very simple, easy to use, and effective tool that I hope to utilize often in my future classroom.
Final Reflection - WebQuest
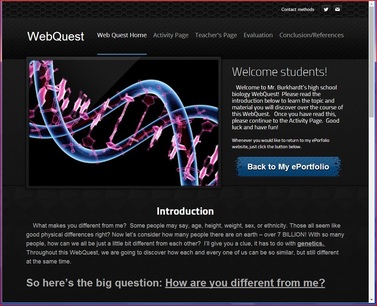
Well it has all finally come to a close. After many days and several hours, the WebQuest chapter is concluded. I really like designing this once I had a basic idea of the layout and what was required in it. The reason I chose the layout that I did was because I wanted to make it easy for students to follow as well as not feel repetitive. I tried to use a good amount of color schemes and changes in font size to grab the attention for important elements. I also like to include embedded video throughout my WebQuest so that it breaks the monotony of reading page after page up.
I want to especially thank Dr. Coffman for helping me throughout the process. She aided me both with her 2013 book, Using Inquiry in the Classroom, as well as via email and Canvas conversations. Thank you again and I hope you enjoy my WebQuest!
I want to especially thank Dr. Coffman for helping me throughout the process. She aided me both with her 2013 book, Using Inquiry in the Classroom, as well as via email and Canvas conversations. Thank you again and I hope you enjoy my WebQuest!
